CHAT TO ME
MY TERMS
All of my ideas are copyrighted to me as they are my original designs. Any resemblence to any other tutorial is purely coincidental.
Do Not Translate, copy, email, download (ie; save to your own hard drive) distribute and/or make scripts/ quick guides from my tutorials.
Do Not hot link to my images or files.
Do Not upload my files to any other site. Do not share my files with others, as some of the contents require permission from thier creators to be shared.
If you are a group manager & wish to use my tutorials in your challenges, you must email me for permission BEFORE you link to my site. I reserve the right to join any group that links to my site.
VISITORS
Labels
- Awards (12)
- CT TUTORIALS (312)
- CUSTOM SERVICES (148)
- Freebies (64)
- MY TUTORIALS (299)
- PTU CU (12)
- ScrapKits (152)
- TAGS (9)
Blog Archive
- 2012 (60)
- 2011 (308)
-
2010
(375)
- December(22)
- November(31)
- October(54)
- September(67)
-
August(50)
- Rock my Soul by Sandee
- I Live to Bite by Sandee
- Skulltastic by Sandee
- NEW Blinkies 8-28-2010
- I made this matching Banner and Avatar for Cari ...
- Sarah has done it again. She created this fabulous...
- Gone Bad by Tiffany
- Romantic Attire
- Dark Angel
- S.T.F.U
- New Tag by me using Scraps by Danielle's Kit Autum...
- Butterfly Magic
- Attitude
- Foxy aka Foxy's Designz created this wicked tag fo...
- Divalicious
- She's a Diva by Sarah
- Sarah made me this totally awesome tag using my ne...
- NEW KIT~I {heart} Elias
- NEW KIT- Birthday Bash
- It's my Birthday!! Let's Celebrate!
- Star Dreamer
- Sunshine
- Foxy made this awesome animated banner using my Ma...
- Oh So Naughty by Tiffany
- My CT gal Sarah made me this awesome banner using ...
- Sarah made this awesome tag using my Party Girl Ki...
- Foxy over at Foxy's Designs created this awesome t...
- Playboy Cu Mix Freebie
- This is actually a header lol i just made it small...
- Newest Blinkies~8-18-2010
- Dazzling Scraps~Back To school Collab
- Rac Addict
- Beautiful Fantasy
- Jenni created this awesome Tag/Tutorial using my ...
- Fantasy's by Julie
- Sarah made me this awesome banner using my Paparaz...
- Faith created this cool tag using my Skulltastic k...
- Peaceful Moments
- Paparazzi Glam
- Wild Fantasy
- Magical Moments
- 2 New Tutorial by Sandee
- Fairy Dreamz by Falcon
- New Blinkies 8-9-2010
- New Kit~Skulltastic
- Sweetness
- Playboy
- Deathly
- Shadows
- Tranquility
- July(21)
- June(25)
- May(10)
- April(19)
- March(23)
- February(20)
- January(33)
- 2009 (333)
- 2008 (13)
Rock my Soul by Sandee
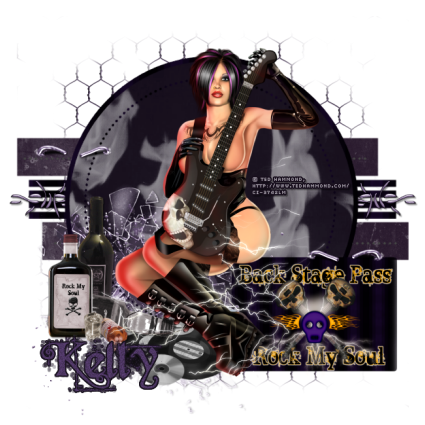
Sandee created another wicked tag/tutorial using my Rock My Soul Kit. She has been a busy bee with all these tuts. I so love this one too hun,tysm Xox
Check out the tutorial HERE
Labels:
CT TUTORIALS
|
0
comments
I Live to Bite by Sandee
Sandee is at it again. She has created a Wicked tag/tutorial using my Twilight kit. Be sure to check the tutorial HERE
OMG i love it! Tysm Sweetie Xox
Labels:
CT TUTORIALS
|
0
comments
Skulltastic by Sandee
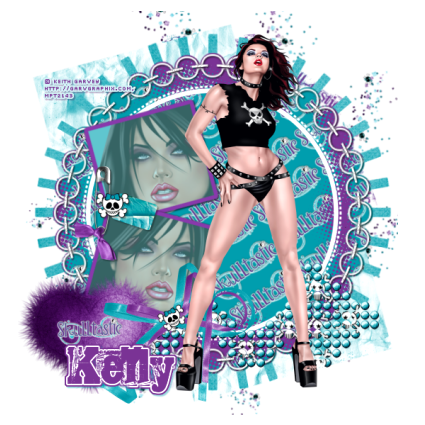
Sandee created this awesome tag and tutorial using my skulltastic kit. Check out the tutorial HERE
Thanks hun i love it! Xox
Labels:
CT TUTORIALS
|
0
comments
Sarah has done it again. She created this fabulous tag using my I {heart} Elias Kit.
I love it sweetie,tyty Xox
Labels:
CT TUTORIALS
|
0
comments
Gone Bad by Tiffany
My CT gal Tiffany created this beautiful tag/tut for me using my No Princess kit. Check out the tutorial HERE
I love it hun thanks u so much xox
Labels:
CT TUTORIALS
|
0
comments
Romantic Attire
I made this tag using Terea's Treasures kit New Beginnings. U can purchase this beautiful kit HERE
Labels:
MY TUTORIALS
|
0
comments
Dark Angel
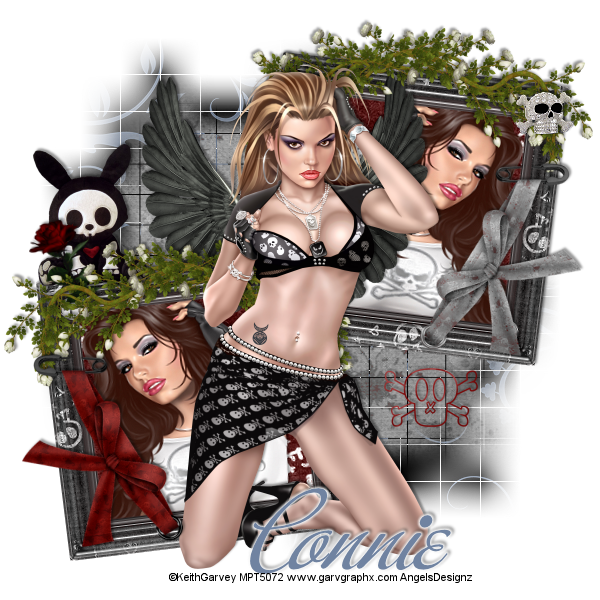
Kit used is called Jesse's Junk made by Connie's Creative Chaos. U can purchase the kit HERE
Labels:
MY TUTORIALS
|
0
comments
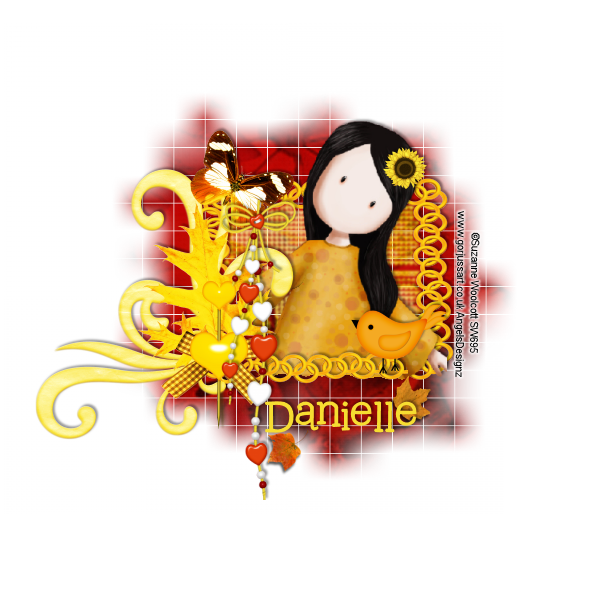
New Tag by me using Scraps by Danielle's Kit Autumn Bliss. U can buy the kit HERE
Labels:
MY TUTORIALS
|
0
comments
Butterfly Magic
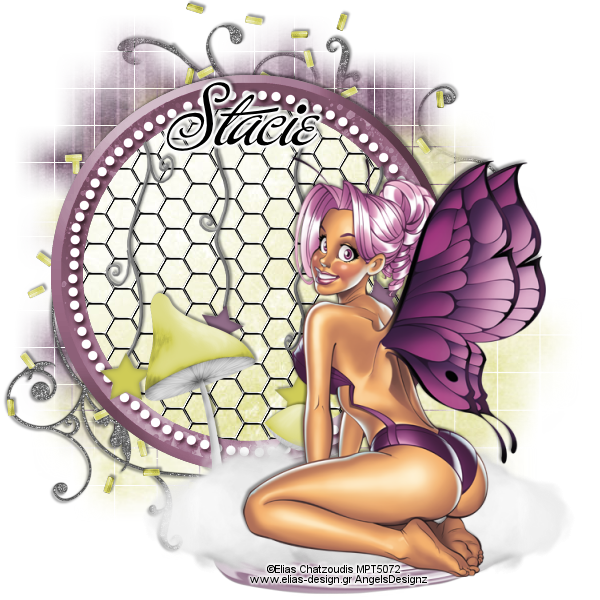
I made this tag using Stacie Cakes part of the Wisteria collab @ twilight Scraps. Check out her blog HERE
Labels:
MY TUTORIALS
|
0
comments
Attitude
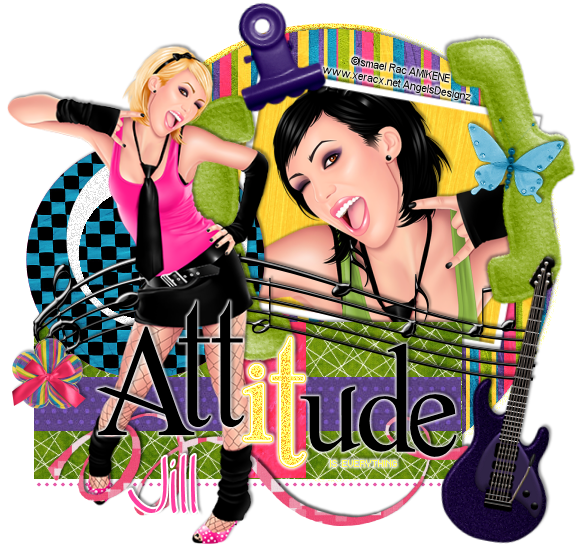
I made this tag using Created By Jill's-Addicted to Rac Kit. You can purchase this awesome kit HERE
Labels:
MY TUTORIALS
|
0
comments
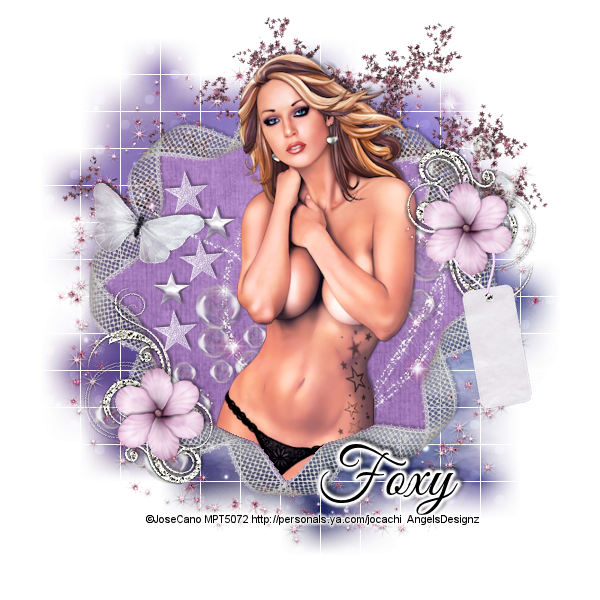
Foxy aka Foxy's Designz created this wicked tag for me uaing my Love,Hate Kit. Be sure to check out her blog HERE
thanks hun i love it!xox
Labels:
CT TUTORIALS
|
0
comments
Divalicious
Sarah has been a busy lil bee lol. She has created this sexy tag for me using my She's a Diva Kit. Check out her blog HERE
Thansk hunni i sooooooo love this one too! xox
Labels:
CT TUTORIALS
|
0
comments
She's a Diva by Sarah
Sarah has done it again,she created this amazing tag/tut using my She's a Diva kit. U can find the tut on her blog HERE
Thanks hun i love this one!
Labels:
CT TUTORIALS
|
0
comments
Sarah made me this totally awesome tag using my newest kit I {heart} Elias. Be sure to check out her blog HERE
Labels:
CT TUTORIALS
|
0
comments
NEW KIT~I {heart} Elias
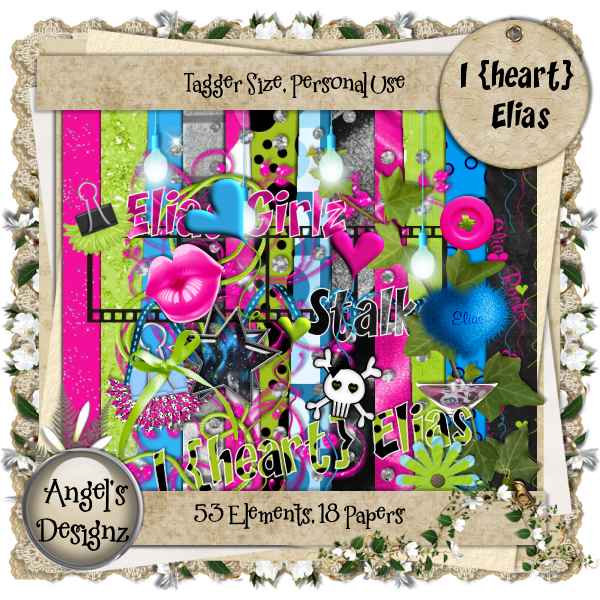
New kit will be in stores tommorow. I have seen Rac and Garv kits..Why not support elias too! I mean he's a awesome artist as well :) In this kit there are 53 Elements and 18 Papers,all done up in bright pink,green,blue and black. I had a blast making this kit.
♥Kelly
Labels:
ScrapKits
|
0
comments
NEW KIT- Birthday Bash
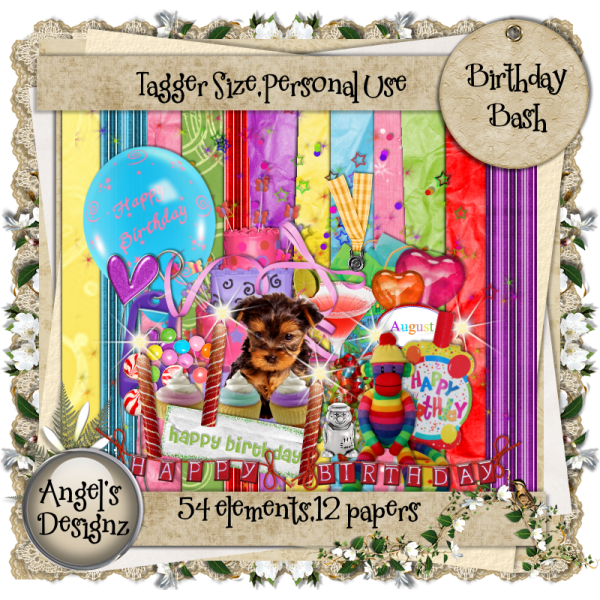
New kit going into stores in just a little bit. I have never made a birthday kit so this is the first!.
Labels:
ScrapKits
|
0
comments
Star Dreamer
Kit used is called Starlite Romance,made by Foxy's Designz. U can grab the kit HERE
Labels:
MY TUTORIALS
|
0
comments
Sunshine
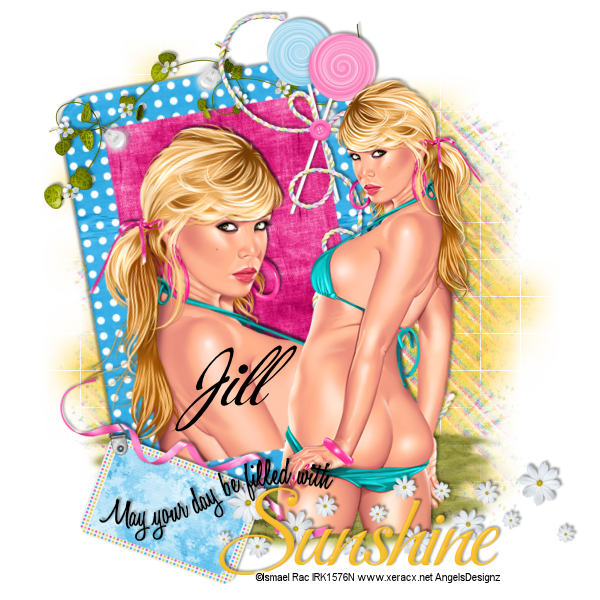
All of my tutorials require a working knowledge of PSP! This tutorial was written by me on August 22,2010. It is of my own ideas and creation! Any other tutorials found to be similar is coincidental.
Supplies Needed
Scrapkit of Choice
I'm using a Wonderful kit called Sunshine and Lollipops made by CreatedByJill. This is a PTU kit. You can grab this awesome kit here
Tube of Choice
I'm using the Wonderful work of Ismael Rac. You must have a license to use his work! You can purchase that here
Let's Begin
Open new image 600x600,Flood fill white.
Copy and paste frame1,Resize 60% or to your liking.
Click on the center of the frame using your magic wand tool.
Selections,Modify,Expand by 4.
Selections,Invert.
Copy and paste paper6.
Hit delete on your keyboard.
Selections,Select none.
Copy and paste closeup tube of choice.
Resize 80% or to your liking.
Place on the frame like mine.
Once happy with placement.
Duplicate,Move original under the frame layer.
Take your Eraser tool,Remove the bottom part of tube that is hanging over the frame on your duplicate layer.
Add dropshadow of choice to your orginal tube layer.
Merge frame,paper and both tube layers together.
Image,Rotate,Free Rotate,10.00,Left.
Copy and paste lights,Resize 40%.
Place on top of frame like mine and add a dropshadow.
Copy and paste String,Resize 40%.
Place on the top right side of frame.
Add dropshadow of choice.
Copy and paste Tube of choice.
Resize 80%,Place like mine or to your liking.
Add dropshadow of choice.
Copy and paste tag,Resize to your liking.
Place at the bottom of frame like mine.
Add dropshadow of choice.
Copy and paste Grass,Resize to your liking.
See mine for placement.
Copy and paste flowerscatter,Resize to your liking.
Place at the bottom of your tube,Add dropshadow.
Copy and paste Wordart,Resize to your liking.
Place like mine,Add dropshadow of choice.
Copy and paste mask,Resize 50%.
Use your Deform Tool to stretch it out a bit.
Copy and paste paper4,Apply mask of choice.
Merge Group on mask layer.
Move both mask layers below all layers but above white background.
Now Add Your Name and CopyRight Info!
Hide the white background layer and safe as a png.
All done.
Labels:
MY TUTORIALS
|
0
comments
Foxy made this awesome animated banner using my Magical Fantasy Kit!. Thanks hun i soooooooo love it!!
Labels:
CT TUTORIALS
|
0
comments
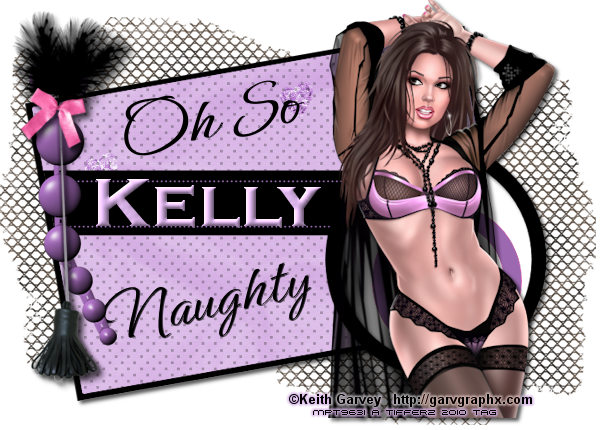
Oh So Naughty by Tiffany
Tiffany made this awesome tag using my Naughty or Nice kit. Thanks hun i love it! Check out the tutorial on her blog HERE
Labels:
CT TUTORIALS
|
0
comments
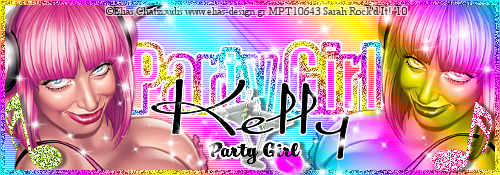
My CT gal Sarah made me this awesome banner using my Party Girl Kit. Fabulous job hun,I Love it!..Check out her blog HERE
Labels:
CT TUTORIALS
|
0
comments
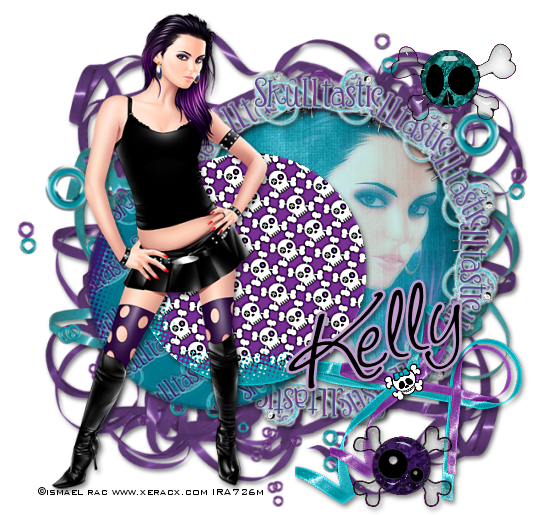
Foxy over at Foxy's Designs created this awesome tag for me using my Skulltastic kit!. I so love this tag!! Check out her blog HERE
Labels:
CT TUTORIALS
|
0
comments
Playboy Cu Mix Freebie
 It's been awhile since the last time i offered a freebie. There's 3 Brads,1 Heart and a Frame. All about Playboy! Maybe u can use them for something. U can download them HERE
♥Kelly
Labels:
Freebies
|
0
comments
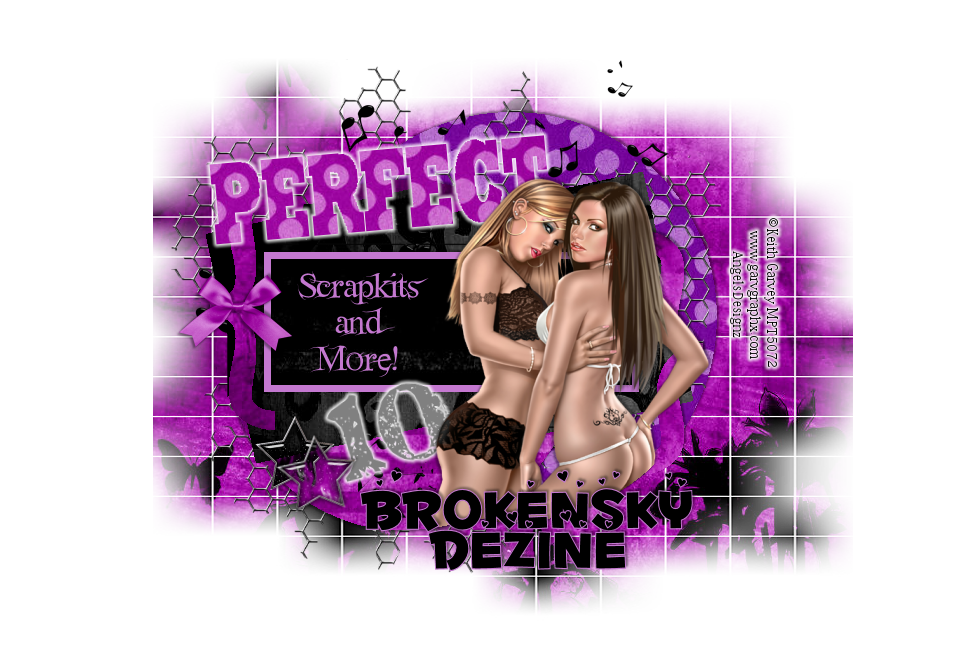
This is actually a header lol i just made it small enough to show it off! I made this header for my bff BrokenSky Dezine. Check out her blog HERE
Labels:
MY TUTORIALS
|
0
comments
Rac Addict
 Here's my part for the Rac Addict Collab @ Underground Scraps. It's not available yet,but will be out soon. Alot of other fabulous designers have joined in on this one.
Labels:
ScrapKits
|
0
comments
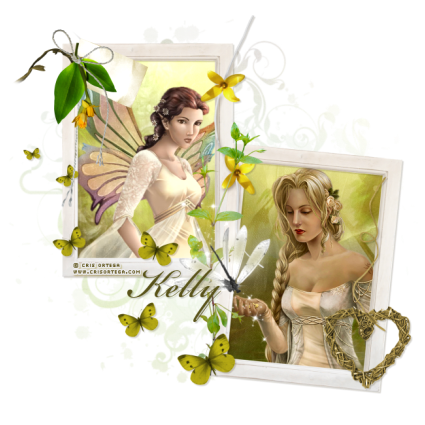
Beautiful Fantasy
All of my tutorials require a working knowledge of PSP! This tutorial was written by me on August 16,2010. It is of my own ideas and creation! Any other tutorials found to be similar is coincidental.
Supplies Needed
Scrapkit of Choice
I'm using a Wonderful kit called Fantasy Land made by CreatedByJill. This is a PTU kit. You can grab this awesome kit here
Tube of Choice
I'm using the Wonderful work of Jamie Kidd. You must have a license to use her work! You can purchase that here
Let's Begin
Open new image 600x600,Flood fill white.
Copy and paste frame3,Resize to your liking.
Take your magic wand tool and click in the center of the frame.
Selections,Modify,Expand by 3.
Selections,Invert.
Copy and paste paper4,Hit delete on your keyboard.
Selections,Select none.
Move the paper under the frame.
Merge these 2 layers together.
Copy and paste Moon,Resize 35%.
Place on the right side of the frame.
Duplicate,Image,Mirror,Move into place.
Copy and paste your tube of choice,Resize 70 or 80%.
Add dropshadow of choice.
Copy and paste frame1,Resize 30%.
Duplicate,Image,Rotate,Free Rotate 20.00 Right.
Move into position like mine.
Hide the 2nd frame.
On the first frame click inside with your magic wand tool.
Selections,Modify,Expand 2.
Selections,Invert.
Copy and paste a closeup tube of choice.
Resize 20 to 25%,Hit delete on your keyboard.
Selections,Select none.
Move tube under the frame layer.
Merge this frame and the tube together.
Hide this layer and unhide the duplicated frame layer.
Copy and paste 2nd closeup tube of choice.
Resize 20 to 25%.
Image,Rotate,Free Rotate 20.00 to right.
Click on the center of the frame with your magic wand tool.
Selections,Modify,Expand 2.
Selections,Invert.
Copy and paste a closeup tube of choice.
Resize 20 to 25%,Hit delete on your keyboard.
Selections,Select none.
Move tube under the frame layer.
Merge these 2 layers together.
Unhide all layers.
Copy and paste String,Resize to your liking and place like mine.
Add a light dropshadow of choice.
Copy and paste Light,Resize 25%.
Place like mine and add a light dropshadow.
Take your Eraser Tool and remove the top part of the string on the light.
Copy and paste bow1,Resize to your liking.
Place on the top of the string on the light.
Add light dropshadow of choice.
Copy and paste bow2,Resize 25%.
Place on top of other bow,add dropshadow.
Copy and paste flower1,Resize 20 or 25%,Place under the light like mine.
Add dropshadow.
Copy and paste FairyDust,Resize to your liking.
Place across the top part of the 2 frames.
Take your Eraser Tool and remove the bottom part.
Copy and paste Cloud,Resize to your liking.
Place behind your main tube but in front of the moon.
Copy and paste flower3,Resize 25%.
Place like mine,add dropshadow of choice.
Copy and paste Butterflies,Resize 30% or to your liking.
See mine for placement,Add dropshadow of choice.
Copy and paste paper7,Apply mask of choice.
Merge group on mask layer.
Move this layer below all layer but above white background.
Copy and paste paper8,Apply another mask of choice.
Merge group on mask layer.
Move this layer above the other mask layer.
Add Your Name and Copyright Info!!
Hide the white background layer and save as png.
All done.
Labels:
MY TUTORIALS
|
0
comments
 Jenni created this awesome Tag/Tutorial using my Punk'd Kit,Check it out HERE
Thanks hun,i love it!!
Labels:
CT TUTORIALS
|
0
comments
Fantasy's by Julie

One of my personal CT girls Julie created this beautiful tag/tutorial using my Magical Fantasy kit. Check it out HERE
Thanks sweetie,I Love It.
Labels:
CT TUTORIALS
|
0
comments
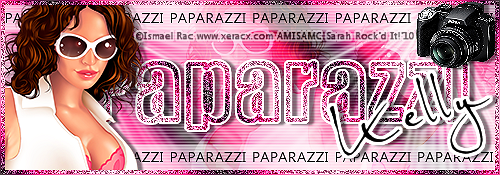
Sarah made me this awesome banner using my Paparazzi Kit. I LOVE IT!! Check out some of her other amazing tags and tuts HERE
Labels:
CT TUTORIALS
|
2
comments

Faith created this cool tag using my Skulltastic kit! Be sure to check out her blog and find the tutorial for this tag HERE
Thanks so much Faith, I Love It!~♥
Labels:
CT TUTORIALS
|
0
comments
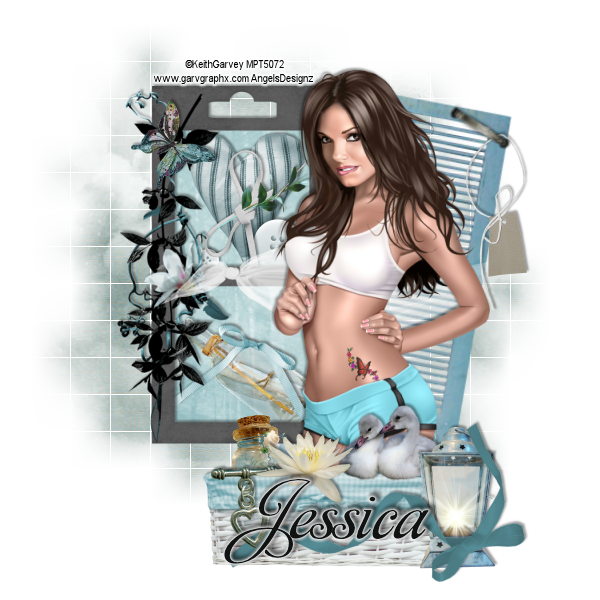
Peaceful Moments
All of my tutorials require a working knowledge of PSP! This tutorial was written by me on August 11,2010. It is of my own ideas and creation! Any other tutorials found to be similar is coincidental.
Supplies Needed
Scrapkit of Choice
I'm using a Wonderful kit called Tranquility made by,Gothic Inspirations. This is a PTU kit that is cannot supply. You can grab this awesome kit here
Tube of Choice
I'm using the Wonderful work of Keith Garvey. You must have a license to use his work! You can purchase that here
Let's Begin
Open new image 600x600,Flood fill white.
Copy and paste Frame7,Resize to your liking.
Copy and paste Heart&Button,Resize 25 or 30%.
Place in the top part of the frame,Add dropshadow.
Copy and paste Emb1,Resize 25%,Place on the Heart&Buttons.
Add dropshadow.
Copy and paste Bottle,Resize 30%.
Image,Mirror.
Image,Rotate,Free Rotate to the right 25.00.
Add a light dropshadow.Copy and paste Bow1,Resize 15%,Place on bottle and add a dropshadow.Hide all layers e
xcept for the frame layer.
Take your magic wand tool and click inside top and bottom of the frame.
Selections,Modify,Expand by 2.
Selections,Invert.
Copy and paste paper6 and hit delete on your keyboard.
Selections,Select none.
Move paper below all other layers but above white background.
Unhide all other layers.
Copy and paste Butterfly,Resize 20%,Place on top left side of frame.
Add a dropshadow of choice.
Copy and paste SheerFrabic,Resize 20%.
Image,Mirror,Move into place.
Copy and paste Door,Resize to your liking.
See mine for placement.
Copy and paste Tag,Resize 25%.
Place on the door,Add dropshadow.
Copy and paste Staple,Resize 25%,Place over the tag like mine.
Add dropshadow to staple.
Copy and paste Tube of choice,Resize 80%.
Place like mine and add a dropshadow.
Copy and paste Basket,Resize to your liking.
Add dropshadow and place at the bottom of your tube.
Copy and paste Jar,Resize 15 or 20%.
Place on the basket.
Duplicate,Move Original below the basket layer.
Take your Eraser Tool and remove the bottom part of the jar on the duplicated layer.
Erase just enough so it looks like the jar is in the basket.
Copy and paste Ducks,Resize 25%.
Place on the right side of the basket,add dropshadow.
Copy and paste Charm,Resize 25%,Place on the basket like mine,Add dropshadow.
Copy and paste Flower1,Resize 20%,Place in the center of the basket like mine.
Add dropshadow of choice.
Copy and paste Lantern,Resize to your liking.
Add dropshadow and place like mine.
Copy and paste Ribbon2,Resize to your liking.
Add dropshadow and place along the bottom half of the basket.
Copy and paste paper8,Apply mask of choice.
Merge group on mask layer.
Now Add Your Name and Copyright Info!!
All done
Labels:
MY TUTORIALS
|
0
comments
Paparazzi Glam

My newest CT member Sarah created this gorgeous tag/tutorial for me using my Paparazzi kit. Be sure to swing by her blog and check it out HERE
Love my tag sweetie! Tysm~♥
Labels:
CT TUTORIALS
|
0
comments
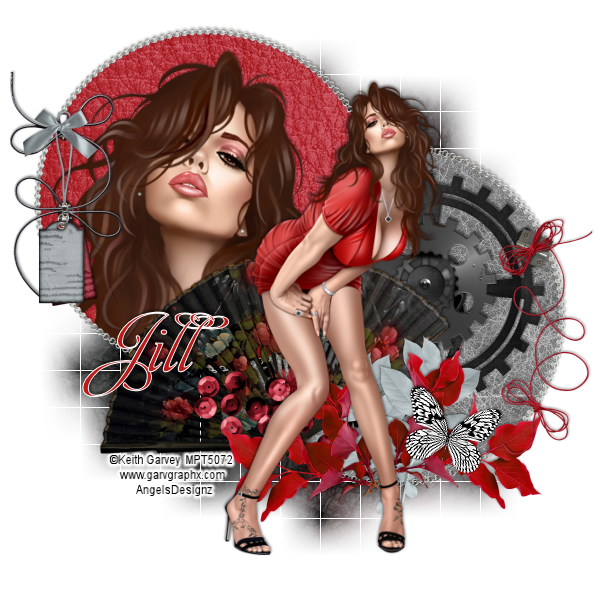
Wild Fantasy
All of my tutorials require a working knowledge of PSP! This tutorial was written by me on August 10,2010. It is of my own ideas and creation! Any other tutorials found to be similar is coincidental.
Supplies Needed
Scrapkit of Choice
I'm using a Wonderful kit called A Touch Of Color made by CreatedByJill. This is a PTU kit. You can grab this awesome kit here
Tube of Choice
I'm using the Wonderful work of Keith Garvey. You must have a license to use his work! You can purchase that here
Let's Begin
Open new image 600x600,Flood fill white.
Copy and paste paper3,Resize 70%.
Click inside the frame using your magic wand tool.
Selections,Modify,Expand by 1.
Selections,Invert.
Copy and paste paper6,and hit delete on your keyboard.
Selections,Select none.
Move paper under frame.
On the frame layer,Duplicate it.
Move frame towards the left of the canvas.
Hide the other frame and paper6 layer.
Click inside this frame like before using your magic wand tool.
Selections,Modify,Expand by 1.
Selections,Invert.
Copy and paste paper1 and then hit delete on your keyboard.
Selections,Select none.
Move paper under frame.
Hide the paper1.
Click inside 2nd frame like before using your magic wand tool.
Selections,Modify,Expand by 1.
Selections,Invert.
Copy and paste Closeup tube of choice,Resize 70% and then hit delete on your keyboard.
Selections,Select none.
Move under frame layer.
Add dropshadow of choice.
Unhide all layers that are hidden.
Copy and paste gears,Resize 70%.
Place in the frame with the grey paper,add dropshadow.
Copy and paste Fan,Resize 70%,See mine for placement.
Add dropshadow of choice.
Copy and paste string1,Resize to your liking.
Place on the top left frame layer,See mine for reference.
Add dropshadow of choice.
Copy and paste String2,Resize to your liking.
Place on the right frame like mine,Add dropshadow of choice.
Copy and paste Tag1,Resize 30%,Place on top of String1.
Copy and paste Sequins,Resize 40%,Place on the bottom of the fan,Add dropshadow of choice.
Copy and paste Leaves2,Resize 30 or 40%.
See mine for placement,Add dropshadow.
Duplicate,Image,Mirror,Move into place.
Copy and paste Leaves1,Resize 30 or 40%.
Place on top of leaves2,add dropshadow.
Duplicate,Image,Mirror,Move into place.
Copy and paste Tube of choice,Resize 90%.
Add a light dropshadow of choice.
Copy and paste bow3,Resize 30%,Place on top of tag1,add dropshadow.
Copy and paste paper10,Apply mask of choice,Merge Group on mask layer.
Move the mask layer below all other layers.
Now Add Your Name and CopyRight Info!!
All done.
Labels:
MY TUTORIALS
|
0
comments
Magical Moments
Stu made this beautiful tag for me using my Magical Fantasy kit. This is a anamated tag! Also a tutorial for it which can be found HERE
Thanks so much hun i love it!!
Labels:
CT TUTORIALS
|
0
comments
2 New Tutorial by Sandee
2 New tutorials by Sandee. Both using my newest kit Magical Fantasy.
1st tag is called Magical Fantasy which u can find the tutorial HERE
2nd tag is called Magical Moments which u can find the tutorial HERE
Thanks Sandee for these awesome tags,they are beautiful!
Labels:
CT TUTORIALS
|
0
comments
Fairy Dreamz by Falcon
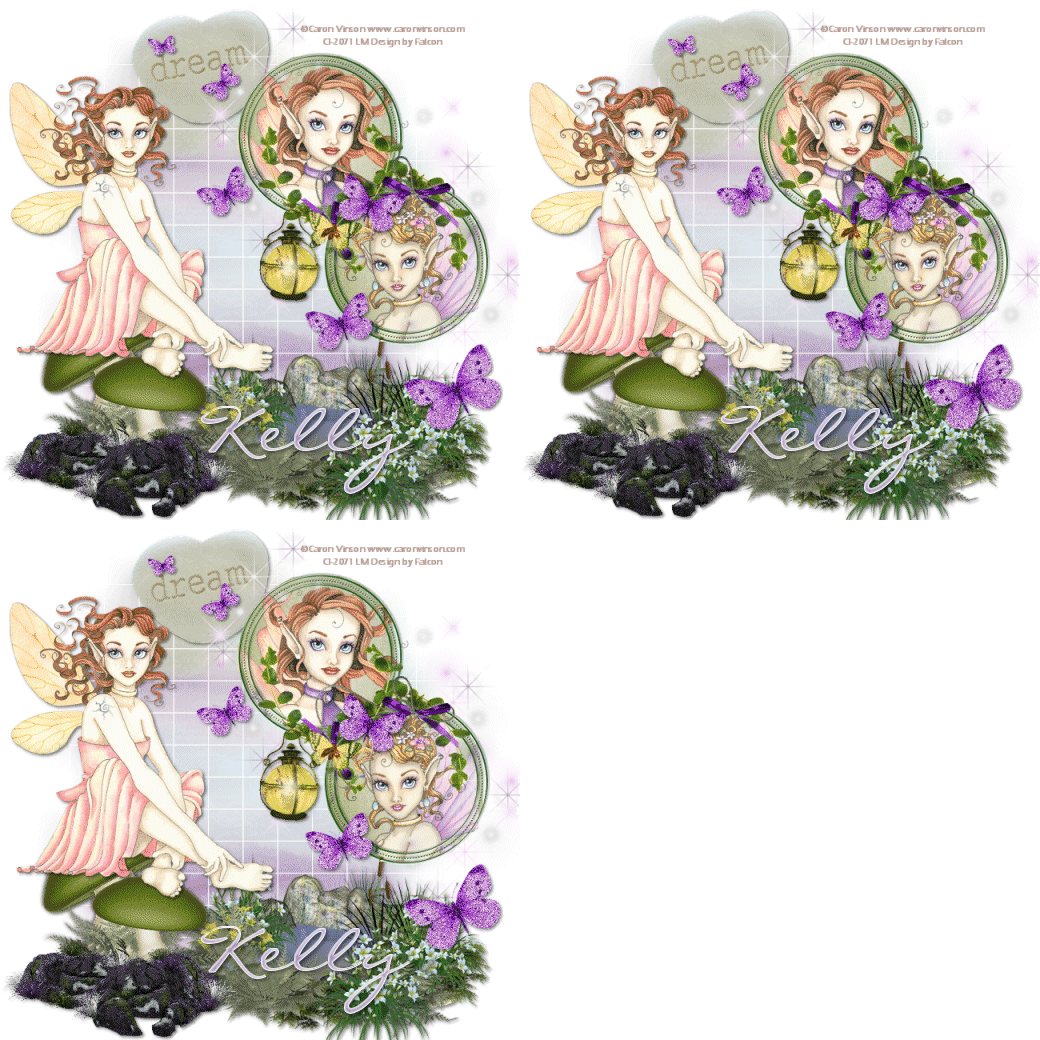
Falcon made this awesome tag for me using my newest kit Magical Fantasy. There's also a tutorial to go with it!! Check it out HERE
Thanks sweetie for this awesome tag!
Labels:
CT TUTORIALS
|
0
comments
New Blinkies 8-9-2010
These were made for a wonderful friend Leigh!
These 4 were made for another wonderful lady and friend Alicia.
Labels:
CUSTOM SERVICES
|
0
comments
Subscribe to:
Posts (Atom)
Blog Archive
-
▼
2010
(375)
-
▼
August
(50)
- Rock my Soul by Sandee
- I Live to Bite by Sandee
- Skulltastic by Sandee
- NEW Blinkies 8-28-2010
- I made this matching Banner and Avatar for Cari ...
- Sarah has done it again. She created this fabulous...
- Gone Bad by Tiffany
- Romantic Attire
- Dark Angel
- S.T.F.U
- New Tag by me using Scraps by Danielle's Kit Autum...
- Butterfly Magic
- Attitude
- Foxy aka Foxy's Designz created this wicked tag fo...
- Divalicious
- She's a Diva by Sarah
- Sarah made me this totally awesome tag using my ne...
- NEW KIT~I {heart} Elias
- NEW KIT- Birthday Bash
- It's my Birthday!! Let's Celebrate!
- Star Dreamer
- Sunshine
- Foxy made this awesome animated banner using my Ma...
- Oh So Naughty by Tiffany
- My CT gal Sarah made me this awesome banner using ...
- Sarah made this awesome tag using my Party Girl Ki...
- Foxy over at Foxy's Designs created this awesome t...
- Playboy Cu Mix Freebie
- This is actually a header lol i just made it small...
- Newest Blinkies~8-18-2010
- Dazzling Scraps~Back To school Collab
- Rac Addict
- Beautiful Fantasy
- Jenni created this awesome Tag/Tutorial using my ...
- Fantasy's by Julie
- Sarah made me this awesome banner using my Paparaz...
- Faith created this cool tag using my Skulltastic k...
- Peaceful Moments
- Paparazzi Glam
- Wild Fantasy
- Magical Moments
- 2 New Tutorial by Sandee
- Fairy Dreamz by Falcon
- New Blinkies 8-9-2010
- New Kit~Skulltastic
- Sweetness
- Playboy
- Deathly
- Shadows
- Tranquility
-
▼
August
(50)
