


Gothic Easter

Supplies Needed
Tube of Choice
Let's Begin
Purrr Kitty

All of my tutorials require a working knowledge of PSP! This tutorial was written by me on March 24,2010. It is of my own ideas and creation! Any other tutorials found to be similar is coincidental.
Supplies Needed
Scrapkit of Choice
I'm using a Wonderful kit called Kittylicious,made by Missy aka Scraps With Attitude . This is a PTU kit i cannot supply. You can grab this awesome kit here
Tube of Choice
I'm using the Wonderful work of Keith Garvey. You must have a license to use his work! You can purchase that here
Let's Begin
Open new image 600x600,Flood fill white
Copy and paste E69,Resize 40%.Copy and paste paper5,Resize 50%.Place below E69.On E69 layer,Take your magic wand tool and click inside the frame.Selections,Modify,Expand by 2.Selections,Invert.On the paper layer hit delete on your keyboard.Selections,Select none.Merge the frame and paper together.Copy and paste E27,E28.Resize to your liking.Place under the frame layer,Duplicate a few times and move into place. Add dropshadow to each. Merge these layers together.Copy and paste E339,Resize 30%,Place like mine,Add dropshadow.Copy and paste E4,E6,E7,Resize to your liking.Place on the frame like mine.Merge these with the frame layer.Duplicate Frame layer,Image,Mirror.Now resize 70%,Place to the right.Copy and paste Teddy bears of Choice,Resize each one differently.Add dropshadow to both.Copy and paste E65,Resize 40%,Place like mine,Add dropshadow.Take your Deform tool,Tilt this layer a bit.Copy and paste E64,Resize smaller then the other one.See mine for placement.Copy and paste E23,Resize 20%,Place down by the wording.Now pick 2 papers of choice,Paste above white background layer.Apply the same mask to each, Then Merge group on both mask layers.Add Your Name and Copyright info!!All done.
Lucky Girl

Supplies Needed
Scrapkit of Choice
Tube of Choice
Let's Begin
True Blood
 All of my tutorials require a working knowledge of PSP! This tutorial was written by me on March 25,2010. It is of my own ideas and creation! Any other tutorials found to be similar is coincidental.
Supplies Needed
Scrapkit of Choice
Tube of Choice
Let's Begin
Gothic Paradise

Supplies Needed
Scrapkit of Choice
Tube of Choice
Let's Begin
New Blinkies 3/23/2010


Blinkie Deal

Newest Blinkies 3-20-2010


6 Cu Glass Skull Brads

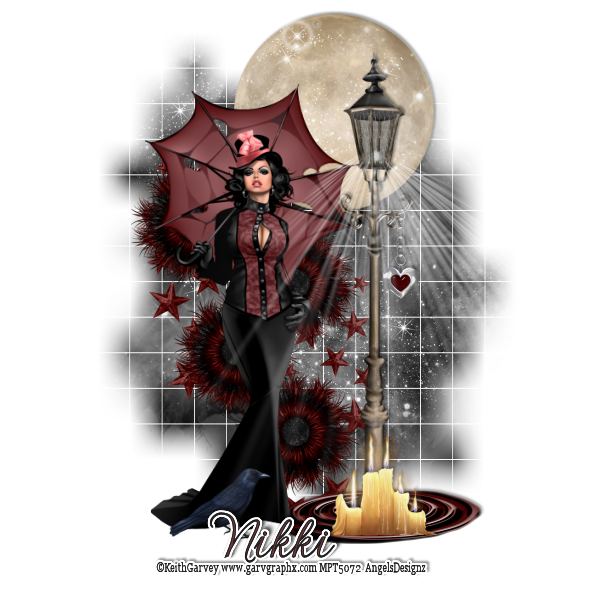
Lady of the Night
Supplies Needed
Scrapkit of Choice
Tube of Choice
Broken Dreams

Supplies Needed
Scrapkit of Choice
Tube of Choice
Let's Begin
Biker Babes
 All of my tutorials require a working knowledge of PSP! This tutorial was written by me on March 11,2010. It is of my own ideas and creation! Any other tutorials found to be similar is coincidental.
Supplies Needed
Scrapkit of Choice
I'm using a Wonderful kit called Biker Babe,made by Addicted 2 Scraps. This is a PTU kit i cannot supply. You can grab this awesome kit here
Tube of Choice
I'm using the Wonderful work of Keith Garvey. You must have a license to use his work! You can purchase that here
Let's Begin
Open new image 600x600,Flood fill whiteCopy and paste el140,Resize 40%,Duplicate,Image,Mirror,Place like mine.Merge these 2 frames together.Copy and paste p4,Resize 70%.Highlight your frame layer,Take your magic wand tool and click inside your frames.Selections,Modify,Expand by 2.Selections,Invert.Highlight the paper layer and hit delete on your keyboard.Selections,Select none.Now pick 2 tubes of choice,Copy and paste both tubes,Resize 80%,Place in each frame.Once happy with placement,Take your magic wand tool,Click inside each frame.Selections,Modify,Expand by 2.Selections,Invert.Hit delete on your keyboard for each tube.Merge the frame,Paper,tubes together.Copy and paste main tube of choice,Resize 80-90%.Copy and paste el36,Resize 70%,Place inbetween the frame layer,Add dropsahdow.Take your deform tool,and rotate it a bit,Merge layer down with frame layer.Copy and paste el137,Place behind the frame and tube layers.Copy and paste el112,Resize 70%,Image,Mirror,Place like mine,add dropshadow.Copy and paste el47,Resize 70%,Place to your liking,Add dropshadow.Copy and paste el52,Resize 40%,Place on the top right side of frame,add dropshadow.Copy and paste 2 papers of choice,Apply the same mask on both.Merge Group on both mask layers.Copy and paste el48,Resize 40%,Place on the frames like mine.Duplicate and place like the other one.Copy and paste 2 bows of choice,the 1st one resize 15%,Place on the top right frame.On the 2nd one resize @ 10%,Place on top of other bow.Now Add your Name and CopyRight Info!!All done.
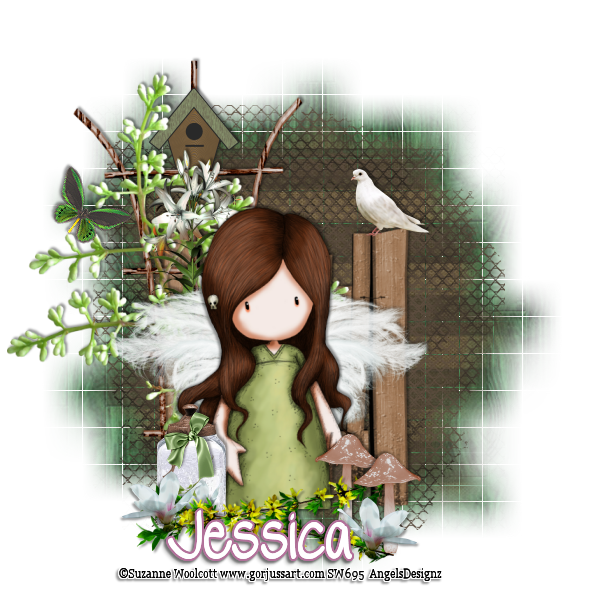
Spring Garden
All of my tutorials require a working knowledge of PSP! This tutorial was written by me on March 9,2010. It is of my own ideas and creation! Any other tutorials found to be similar is coincidental.
Supplies Needed
Scrapkit of Choice
I'm using a Wonderful kit called A Spring Garden,made by Gothic Inspirations. This is a PTU kit i cannot supply. You can grab this awesome kit here
Tube of Choice
I'm using the Wonderful work of Suzanne Woolcott. You must have a license to use her work! You can purchase that here
Let's Begin
Open new image 600x600,Flood fill whiteCopy and paste Trellace,Resize 75%,Add dropshadow.Open the treebuds up in psp,Image,Rotate,Rotate CounterClockwise.Copy and paste treebuds,Resize 80%,Place on the Trellace,Add dropshadow.Copy and paste Gate,Resize 70%,Place behind the trellace,Add dropshadow.Copy and paste Jar,Resize 25%,Place like mine,Add dropshadow.Copy and paste Mushroom,Resize 20%,Place on the right side of the gate,Add dropshadow.Duplicate,Image,Mirror,Place like mine.Copy and paste Mesh,Resize 50%,Place behind all layers but above white background layer.Copy and paste tube of choice,Resize to your liking,Add dropshadow.Copy and paste Wings,Resize 60%,Place behind your tube layer,Add dropshadow.Copy and paste Lily's,Resize 40%,Place on the treebuds,Add dropshadow.Copy and paste Birdhouse,Resize 20%,Place on top of the trellace,Add dropshadow.Copy and paste Bird,Resize 15%,Place on the gate,Add dropshadow.Copy and paste Bow2,Resize 15%,Place on the jar,Add dropshadow.Copy and paste Butterfly,Resize 15%,Take your Deform Tool,Rotate itAdjust,Sharpness,Sharpen.Add dropshadow,Image,Mirror,See mine for placement.Copy and paste Flowers,Resize 20%,Add dropshadow.Place like mine,Duplicate,Image,Flip,Move into place.Copy and paste paper8,Apply mask of choice,Merge Group on mask layer.Copy and paste paper5,Apply same mask as before,Merge Group on mask layer.Take your deform tool, squeeze in the mask.Now Add Your Name and CopyRight Info!!Copy and paste Bloom,Resize 15%,Place down by your name,Add dropshadow.Duplicate,Image,MirrorAll done.


My Bestfriend n Me
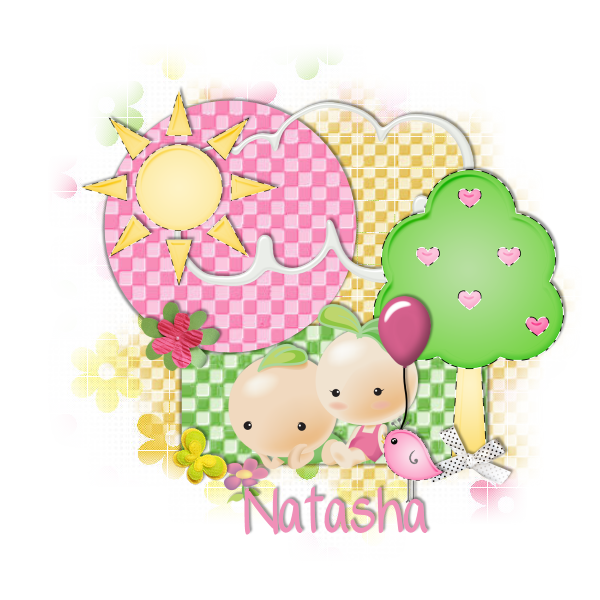
Supplies Needed
Let's Begin
Just Dance

Supplies Needed
Tube of Choice
Let's Begin
Gothic Love
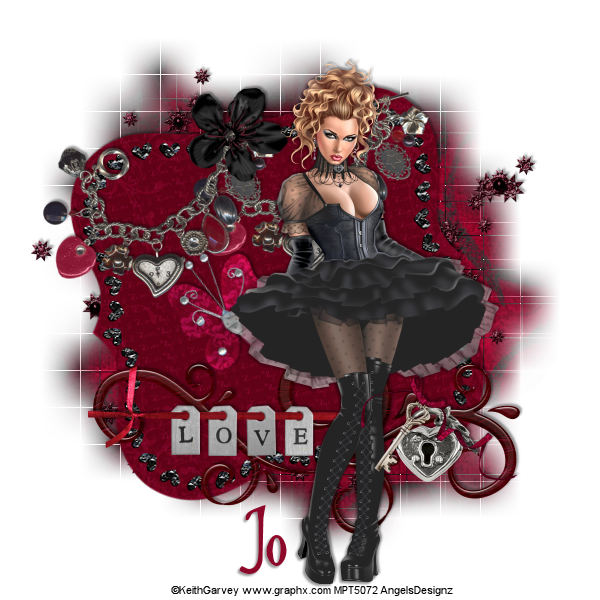
Supplies Needed
Tube of Choice
Let's Begin
Newest Blinkies 3-4-2010


2 New Kits!! Fire & Ice 3/3/2010


Boy Teaser

Supplies Needed
Tube of Choice
Template made by Missy @ Divine Intentionz.Thanks Missy!! U can get the template HERE
Let's Begin
Gateway to Annwn~Gothic Inspirations Blogtrain~March 1st. 2010


